By
June 20, 2023
Upgrading your broadband connection to fibre is the best way to enjoy faster, more reliable internet, so you can spend more time enjoying the online content that you love. First though, you’ll need to decide what sort of connection is best for you and understand what’s involved in getting set up for a fibre upgrade.
There are three easy steps in getting the ball rolling on your upgrade to fibre broadband.
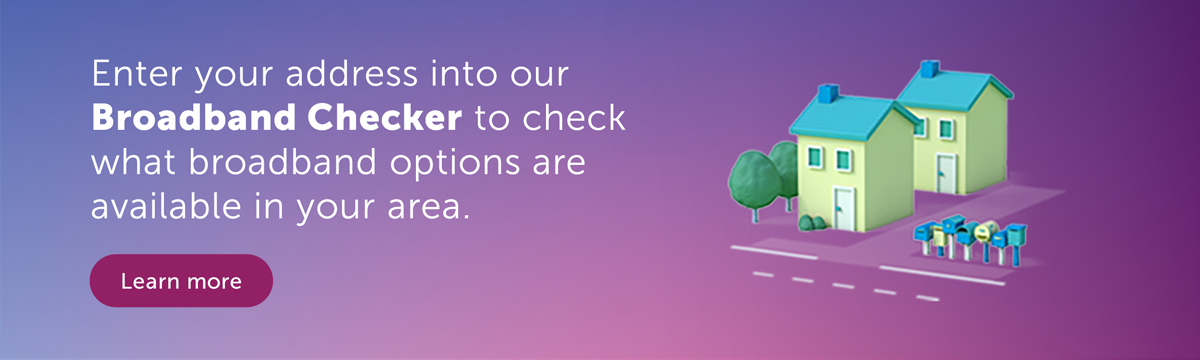
1. Use the Chorus Broadband Checker
As of 2023, fibre is the broadband connection of choice for over three million Kiwis. However, it isn’t available to everybody in New Zealand yet. Fortunately, there is a range of connection types on offer throughout the country, and there’s an easy way to check out what options are available to you.
Simply visit the Chorus Broadband Checker and enter your address to see what’s available. Broadband connection types on our network include:
- ADSL: Legacy broadband technology that supports everyday activities like web browsing, online banking and emailing.
- VDSL: Offers a better, more reliable internet experience with less buffering than basic broadband.
- Fibre: Our most popular broadband connection type. Dedicated and consistently reliable connection with loads of capacity.
- Fibre pro: Gigabit broadband, the best home broadband available on our fibre network.
To enjoy a great streaming experience, you’ll want a fibre plan with speeds of 100Mbps or above. VDSL or satellite the next best option if fibre isn’t available in your area.
2. Choose your plan
Once you’ve decided on the best broadband connection type, you’ll need to find a plan that’s right for you. This can be tricky, as not of many of us really know how much data we go through a month.
To get a better idea of your usage, take a look at the Chorus Data Checker. This will provide an estimate of your monthly usage, allowing you to choose a plan that suits your needs.
The majority of Kiwis opt for an unlimited plan. This means no matter how many episodes of your favourite show you watch on Netflix, you’ll always have enough data to enjoy uninterrupted streaming.
3. Place your order
Finally, after determining the best connection type and plan for your home, you’ll need to start the installation on your upgrade to fibre.
This starts when you place an order with your chosen broadband provider. From there, your provider will contact us to begin the installation process. This involves three key steps:
- Agree your install plan: We’ll come to your place and talk you through the best installation method for your home. You’ll need to sign a plan agreeing for Chorus to complete this work.
- Build your fibre: We build the fibre from the street to a small box on the outside of your house called an external termination point (ETP).
- Connect you: We then connect the fibre to another small box called the optical network terminal (ONT) inside your house. The ONT is what your modem connects to.
4. Get the best home wifi experience
Even with the best broadband connection, there are a number of factors that can affect your home wifi experience. The good news is that the solution could be as simple as updating or moving your wifi router or using wired connections for your data-hungry devices.
Learn how to set up your home wifi
 hbspt.cta.load(4353836, 'eb936aa0-e0fc-43ca-8c4d-17838ecbfef2', {});
